11 June 2022
Expedition Overview
The purpose of this field expedition is to conduct research during the spawning season for the coral Montipora capitata and the larval brooding season for Pocillopora acuta in Hawaii. Jill Ashey and Ariana Huffmyer (Putnam Lab, URI) and collaborators are conducting research at the Hawaii Institute of Marine Biology in June - July 2022. Projects include characterization of the role of microRNA in coral development see J. Ashey’s notebook here and the timing of symbiotic nutritional exchange see A. Huffmyer’s notebook here.
Field collection
Jill, Federica, Sarah, & Ariana collected Pocillopora acuta from the patch reef at HIMB (Kaneohe Bay patch reef #1). Colonies were collected from the lagoon at <6 ft depth in a variety of sizes and collected >3-5m apart from each other. Colonies were selected to be <20cm in order to fit in the collection bowls.
Colonies collected between 1600 and 1700 h. Jill took photographs/videos of the collection process. Colonies were removed from the substrate with hammer/chisel.
We collected a total of 21 colonies.
Tank and experimental setup
Jill put Apex temperature probes into squaricals, headers and tanks. She stored the Apex brain, EB and PMs in a covered box next to the tanks under shade cloth. Apex was ‘turned on’ around 8pm HST. Temperatures are now being monitored by Apex, but no heaters are on yet. We will monitor the temperatures and turn on the heaters when required (when larvae are ready for heat exposure).
Ariana built manifolds and water delivery systems for Pocillopora acuta larval collection tanks and finished construction of all tanks. Ariana and Jill also programmed the Apex system.
Sarah made shade cloths for all tanks. With 1 layer of shade cloth, water at the depth of corals in the tanks (~6-8 in) is approx. 350-500 PAR in the sun at ~1400 h. This is approximately 20% of light without shade cloth.
Jill deployed 18 light/temperature loggers into high and ambient squaricals, headers and tanks at 9pm EST.
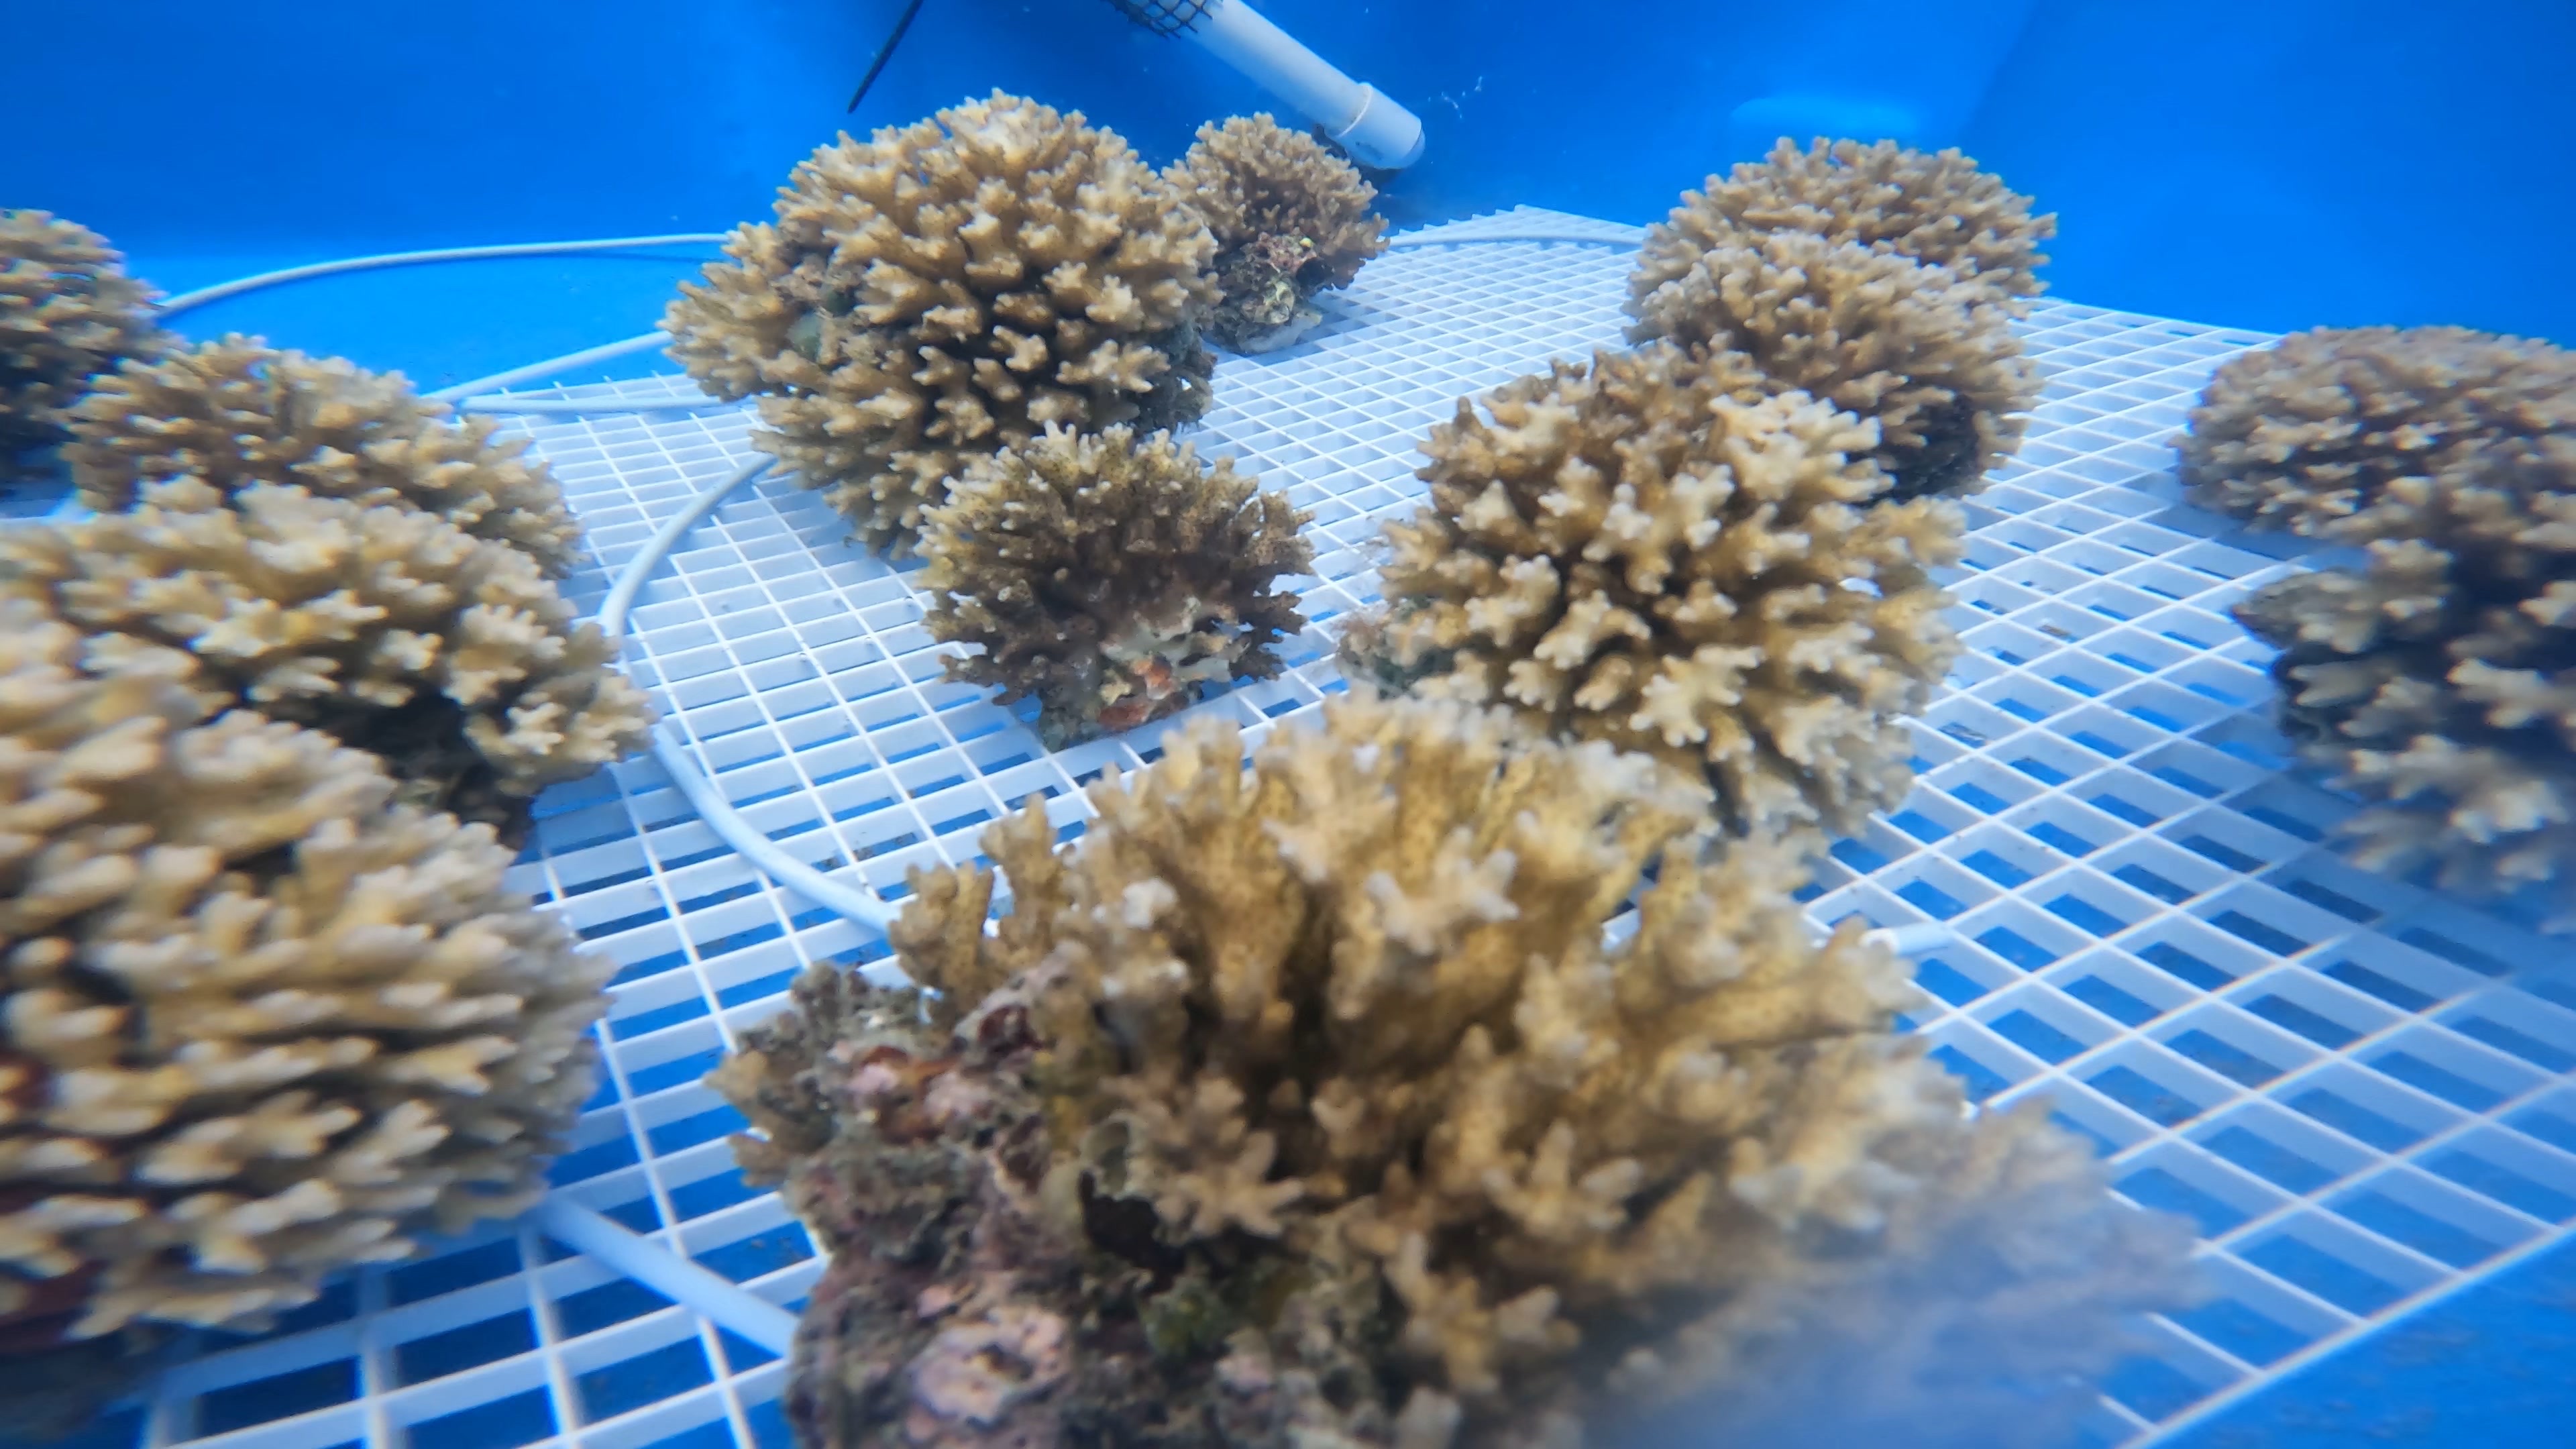
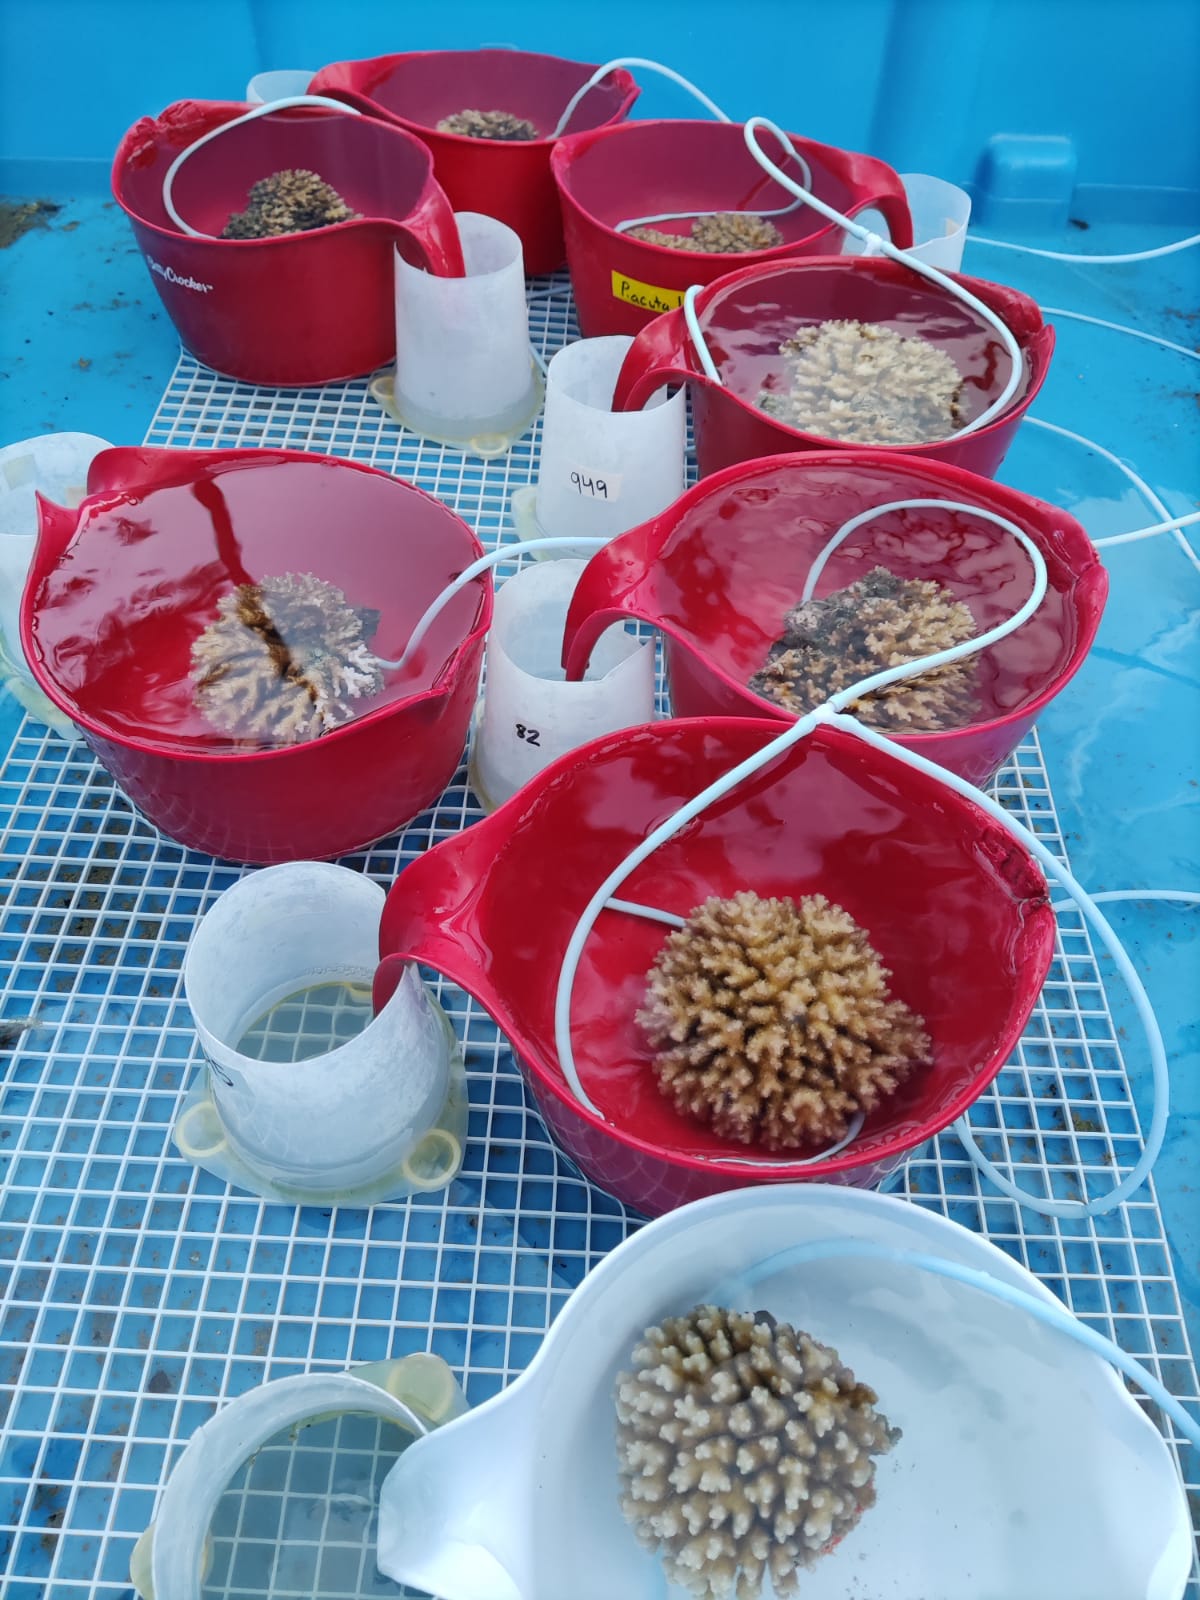
Federica, Sarah and Jill set up P. acuta collection bowls at 1900. The corals were placed in the bowls which are sitting in water bath in the blue tanks. There is blue tubing with running seawater in the bowl with the coral. The overflow water in the bowl runs into a mesh trap that is submerged in the water bath. If the corals spawn, their positively buoyant larvae will spill over into the mesh traps and we will be able to collect them in the morning.

Programming Apex
Ariana & Jill programmed the apex. Below is the programming details
Important! Whenever changes are made on apex fusion, push them to apex device by clicking the orange cloud icon in top right of screen. If they are not pushed, no changes will be made.
- Get apex brain on wifi (this information is on notebook post from 6/10/22)
- From apex list, select the specific apex and this will go to the apex’s main dashboard
- On the icon list, click expand and then click on modules. The module page will show which PMs/EBs are currently connected or associated with the apex
- Delete the old PMs
- Click status of a PM
- Under configuration, click action and delete
- Once the old ones are deleted, only the active EB should be present
- Using aquabus cables, connect EB to first PM. Check that PM light is green once connected
- Click refresh on fusion page. The new PM should now show up as active
- Link another PM to the first PM using another aquabus cable and check that it is active online. Repeat this process for each PM, adding them one at a time and daisy-chaining them to one another
- When the PMs appear on fusion, they will have names/numbers. Record these so it is known which PM is associated with which probe/treatment (EB only has 8 outlets so can only handle 8 PMs. If more PMs are needed, add another EB). Here are the labels that we are using for each unit.
- High Sq 1: brain
- High Sq 2: PM_13
- High Sq 3: PM_12
- High Header: PM_2
- High Tank: PM_3
- Amb Sq 1: PM_10
- Amb Sq 2: PM_4
- Amb Sq 3: PM_5
- Once PMs are all active, go to main apex page. Click new tiles (icon looks like a lock) in the top right hand corner
- Move down PM temperature probe tiles (will be orange plots labeled with PM numbers ie TMPX10, etc) into main apex space
- Move down tiles for outlets. These will be named They should be named 14 (EB number)_1-8 (ie HEATER_14_3, LIGHT_14_2, etc) with off/auto/on options.
- For the temperature probe tiles/plots, click settings button in top right hand corner of tile and rename. Location will say which PM it is. Check by unplugging probe and seeing which probe value falls really low
- PM_5 = A_SQ_3
- PM_2 = H_HEAD
- PM_3 = H_TANK
- PM_4 = A_SQ_2
- PM_10 = A_SQ_1
- PM_12 = H_SQ_3
- PM_13 = H_SQ_2
- base/brain = H_SQ_1
- Click settings button in top right hand corner of outlet tile and rename as outlet 1-8. Location will say which PM it is on the EB. Change control type to advanced. Under configuration, fallback should be off. Ignore probe name and on/off temperature, as our code will override this information.
- In configuration for each outlet, put this code (this will make more sense once virtual outlets are coded). Note that here we have named the virtual outlets a custom name and can be identified however is helpful for the respective project.
Set OFF
If Outlet AHStage1 = ON Then ON
If Outlet AHStage2 = ON Then ON
If Outlet AHStage3 = ON Then ON
If Outlet AHStage4 = ON Then ON
If Outlet AHStage5 = ON Then ON
If Outlet AHStage6 = ON Then ON
If Outlet AHStage7 = ON Then ON
If Outlet AHStage8 = ON Then ON
- Check to make sure outlets work by turning all outlets on and off. On the EB, orange lights should turn on and a click will sound when the outlet is on; when off, orange light will turn off and click will sound.
Now set up the virtual outlets
- Click new tiles (icon looks like a lock) in the top right hand corner
- Move down virtual outlet tiles (named AHSTAGE1-8 from AH project last summer)
- Click settings button next to outlet. its location will say “Virtual Output simulated by the Apex; it’s not real”. Change icon to up/down arrows and control type to advanced
- Configuration for each stage (randomly chose that all virtual outlets would be controlled by H_SQ_1)
Here is an example script. Temperatures will be customized depending on experimental design and ambient conditions.
AHSTAGE1
Set OFF
If H_Sq_1 < 28.8 Then ON
If H_Sq_1 > 28.8 Then OFF
If Time 01:00 to 04:30 Then OFF
If Time 06:45 to 00:59 Then OFF

AHSTAGE2
Set OFF
If H_Sq_1 < 29.0 Then ON
If H_Sq_1 > 29.0 Then OFF
If Time 01:00 to 03:00 Then OFF
If Time 04:30 to 06:45 Then OFF
If Time 08:15 to 00:59 Then OFF

AHSTAGE3
Set OFF
If H_Sq_1 < 29.2 Then ON
If H_Sq_1 > 29.2 Then OFF
If Time 01:00 to 02:00 Then OFF
If Time 03:00 to 08:15 Then OFF
If Time 09:45 to 00:59 Then OFF

AHSTAGE4
Set OFF
If H_Sq_1 < 29.4 Then ON
If H_Sq_1 > 29.4 Then OFF
If Time 02:00 to 09:45 Then OFF
If Time 11:15 to 00:30 Then OFF

AHSTAGE5
Set OFF
If H_Sq_1 < 29.5 Then ON
If H_Sq_1 > 29.5 Then OFF
If Time 01:00 to 11:15 Then OFF
If Time 12:15 to 23:00 Then OFF
If Time 00:30 to 00:59 Then OFF

AHSTAGE6
Set OFF
If H_Sq_1 < 29.7 Then ON
If H_Sq_1 > 29.7 Then OFF
If Time 01:00 to 12:15 Then OFF
If Time 13:30 to 19:45 Then OFF
If Time 23:00 to 00:59 Then OFF

AHSTAGE7
Set OFF
If A_Sq_3 < 29.9 Then ON
If A_Sq_3 > 29.9 Then OFF
If Time 01:00 to 13:30 Then OFF
If Time 15:00 to 17:15 Then OFF
If Time 19:45 to 00:59 Then OFF

AHSTAGE8
Set OFF
If H_Sq_1 < 30.1 Then ON
If H_Sq_1 > 30.1 Then OFF
If Time 01:00 to 15:00 Then OFF
If Time 17:15 to 00:59 Then OFF
For example, looking at AHSTAGE1:
- Temp is usually at off
- If the temperature in heat squarical 1 is less than 28.8, turn heater on
- If temperature in heat squarical 1 is greater than 28.8, turn heater off
- If the time is between 01:00 to 04:30 , turn this heater off
- If time is between 06:45 to 00:59, turn this heater off
Essentially, each outlet on the EB is listening to the 8 virtual outlets and turning on/off heaters based on that.
Next, calibrate each temperature probe
- Fill a tripour with freshwater and put digital temperature probe in it. Also put in one of the apex temperature probes.
- Let probes sit for 2-4 minutes
- Click on settings button next to temperature probe tile. Click calibrate
- It will say “When ready, press Calibrate to start”. Click Calibrate
- Enter the temperature value from the digital temperature probe and click next
- Calibration is complete! click done
REMINDER!! Push all changes made on apex fusion to apex device